
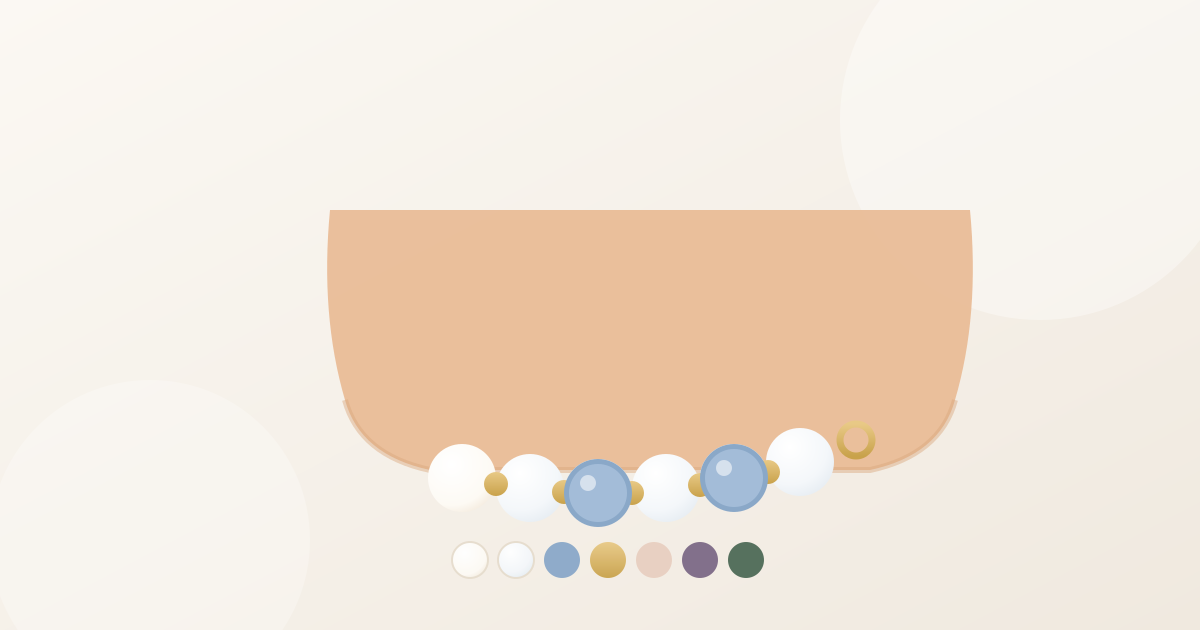
A wedding bracelet has a harder job than most jewelry. It has to look right in photographs, survive a long day of hugging, dancing, and toasts, and still mean something years later when the wedding is only a memory. A beaded bracelet can do all three, if you design it in the right order: the metal first, then the palette, then the beads, then the fit. This guide walks a bride through each step — and covers the same decisions for anyone designing one as a gift.
Match the metal to your rings and the necklace you are already wearing, then match the bead palette to the dress rather than to a color theme. Keep the beads smooth and small — 4mm to 6mm reads elegantly in photos and stays comfortable all day — and build the base from pearl, crystal, or a soft neutral with one accent color. Add meaning with a birthstone, both partners' initials, or a color from a shared memory. Fit it two to three weeks before the date and add a short extension chain so it can be adjusted on the morning. Build yours bead by bead in the BVDIY bracelet designer, and compare exact tones in the bead library first.
1. Start with the metal, not the beads
Metal comes first because it is the only part of the bracelet that has to agree with things you have already chosen — your engagement ring, your wedding band, your earrings.
Yellow gold rings pair with gold clasps and gold spacers. White gold, platinum, or silver rings pair with silver, steel, or white-gold findings. Mixed-metal brides have more freedom, but the safest rule is to match the metal closest to the bracelet: your ring hand, not your earrings. If you are wearing a necklace, settle its metal first and choose the bracelet to match.
2. Match the palette to the dress, not to a theme
Wedding color themes are for invitations and table linens. The bracelet sits against your skin and your dress, which means the only things it has to flatter are the fabric and you.
Ivory, cream, and champagne dresses take pearl, champagne glass, soft gold, and blush beautifully. It is the most forgiving palette in the whole wedding.
White and bright white dresses look crisp against clear crystal, silver-toned metal, and cool accents like pale blue or soft gray. Warm gold still works, but on stark white it becomes the loudest element in the frame, so choose it on purpose.
Blush and dusty rose gowns reward rose-gold findings and muted rose or burgundy accents, with a cream base so the dress stays the star.
Deeper gowns — navy, emerald, burgundy, black — suit crystal or pearl bases, because a neutral base stays visible against a dark fabric. A bead that matches the dress too closely disappears in photographs.
The bead library lets you pull a few candidate tones and view them next to each other, which is far more reliable than imagining a color from a swatch name.
3. Choose beads that survive the day
A wedding day is not a delicate occasion. Between dressing, photographs, a long ceremony, dinner, and dancing, the bracelet will be hugged, leaned on, and photographed from six inches away.
Size. 4mm to 6mm is the wedding sweet spot: elegant in close-ups, and it does not compete with a ring. 8mm and above can suit a bold, modern bride, but it starts to dominate the wrist.
Material. Smooth glass, crystal, and pearl catch light and hold their shine in flash photography, and faceted beads throw small sparkles. Matte stone reads more relaxed for a garden or courthouse wedding, though it photographs flatter indoors.
Durability. Somewhere in the day the bracelet will catch on lace, tulle, or a bouquet ribbon; smooth beads do that far less than textured ones. A secure lobster clasp with an extension chain is much safer than stretch cord on a piece you intend to keep.
4. Add one meaningful detail
One detail, placed where you will see it, beats a bracelet covered in symbols. Three options work especially well.
Both birthstones. Your stone and your partner's, set as two accent beads with a spacer between them, reads as a pair to anyone who knows the stones and as a clean design to everyone else.
Initials. A single small letter bead near the clasp — yours, or both initials with a spacer — is a private signature you see each time you fasten it.
A color from the beginning. The color of the restaurant where you met, the sea on the trip you got engaged, the shade of the first flowers he gave you. Personal, and it needs no explaining to guests.
Designing one as a gift instead? The same logic applies, and the bridesmaid gift guide covers the coordinated versions for the wedding party.
5. Time the fitting properly
Sizing is where wedding jewelry quietly goes wrong. Wrists change slightly with heat and travel, so a bracelet fitted in a cold studio can sit differently in a warm venue.
Measure your wrist snugly, then add roughly half an inch for comfort. Ordering a gift and cannot measure? A 7-inch finished length with a short extension chain covers most adult wrists.
On timing, order early enough that a resizing is still possible, and hold the final fitting two to three weeks before the date. The wrist measuring guide covers both measuring methods in detail.
6. Make it wearable after the wedding too
Notice which wrist the bracelet goes on. If you wear a watch, the two on the same wrist fight for space — most brides move the watch off for the ceremony. If you are wearing a necklace, bracelet, and earrings, let one be the detail; a beaded bracelet carries the most texture, so keep the rest simple.
Then decide what happens after the day. A bracelet designed for the wedding alone gets packed away with the dress. One designed in your everyday palette, with a single wedding detail hidden inside it, gets worn for years.