
Designing a custom bracelet sounds like a single step — pick beads, add a clasp, done. In practice it is a short chain of decisions: wrist size first, then materials, colors, bead count, and how the finished piece will be worn. Each choice changes the next one, which is why the best custom bracelets start with a clear plan. This guide walks through the full process and links to a deeper guide for every step.
To design a custom bracelet: measure your wrist accurately, choose a bead material that fits how often you will wear it, pick a color direction that works with your wardrobe, plan the bead count and spacing, then decide whether the bracelet will be a daily piece or a statement piece. Build it bead by bead in the BVDIY studio, where the preview updates with every change and shows the final price before you commit.
1. Start with the wrist, not the beads
A bracelet that fits well is the difference between a piece you reach for daily and one that sits in a drawer. Measure the wrist at its widest point, decide how much ease you want, and keep that number as your baseline. Wrist size drives bead count and overall drape, so it genuinely comes before material and color choices. Our wrist sizing guide covers the exact measuring method and how much slack to add for different fits.
2. Choose materials by how the bracelet will live
Every bead material brings a different balance of durability, weight, and finish. Gemstone beads give color and weight; glass beads stay light and easy to clean; pearls read softer and warmer; crystals add sparkle. If you wear one bracelet daily, prioritize materials that resist scratches and absorb less oil. For occasional or evening pieces, you can afford more delicate finishes. The bead material guide compares each option side by side, and the pearl vs crystal guide and spacer metal guide narrow the choice down further.
3. Pick a color direction before you buy a single bead
Colors do more work in a bracelet than almost any other choice. A clear direction — neutral and understated, warm and earthy, or bold and contrast-driven — makes every later decision easier. Start from what the person already wears, or from a meaning you want the bracelet to carry. The bead color guide walks through palettes that work well together, and the symbolic jewelry guide explains what individual colors have traditionally been used to express.
4. Plan bead count and spacing for a comfortable fit
Bead count is not about filling a string; it is about how the bracelet drapes. Tighter beads create a solid band, while wider spacing lets the bracelet breathe and shows off larger stones. Your wrist size, bead diameter, and chosen spacing all feed into the count. The bead count guide includes a straightforward way to calculate how many beads you need for your size.
5. Think about how it will be worn
A bracelet designed for stacking needs a different profile than one meant to stand alone. If it will sit beside a watch or other bracelets, keep the profile slim and the finish complementary. If it is the centerpiece, give it a larger bead or a stronger color. The styling guide covers outfit pairing, and the layering guide explains how to build a wrist stack that stays balanced.
6. Plan for care before you commit
Different materials need different care, and it is easier to choose a material you can actually maintain than to fall in love with one you cannot. Some beads can be wiped clean in seconds; others need to stay away from water, lotion, and perfume. The bracelet care guide lists what each material tolerates, so your design still looks right a year from now.
7. Ready-made pieces that match your custom design
If you want a finished piece while your custom design is being made — or a companion piece that layers with it — the Floral Station Bracelet and the Floral Pearl Drop Earrings use finishes that pair naturally with beaded designs. The station bracelet is slim enough to sit beside a custom stack, and the pearl earrings echo the soft, luminous look of pearl beads without any design time.
8. Bring it together in the studio
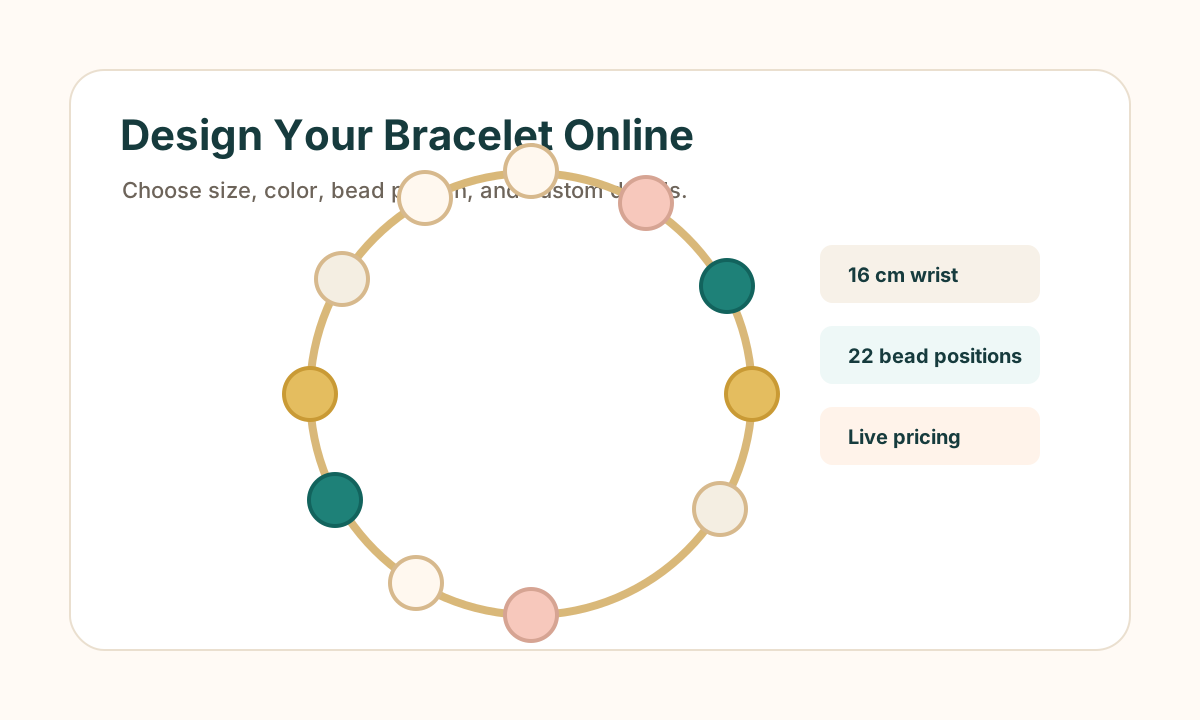
Once you have decided on size, materials, colors, and spacing, the design itself is the fun part. In the BVDIY studio you place beads one at a time, see the preview update live, and confirm the price before you finish. Everything you decided in this guide maps directly to a control in the studio, so the plan you make here is the bracelet you build there.