
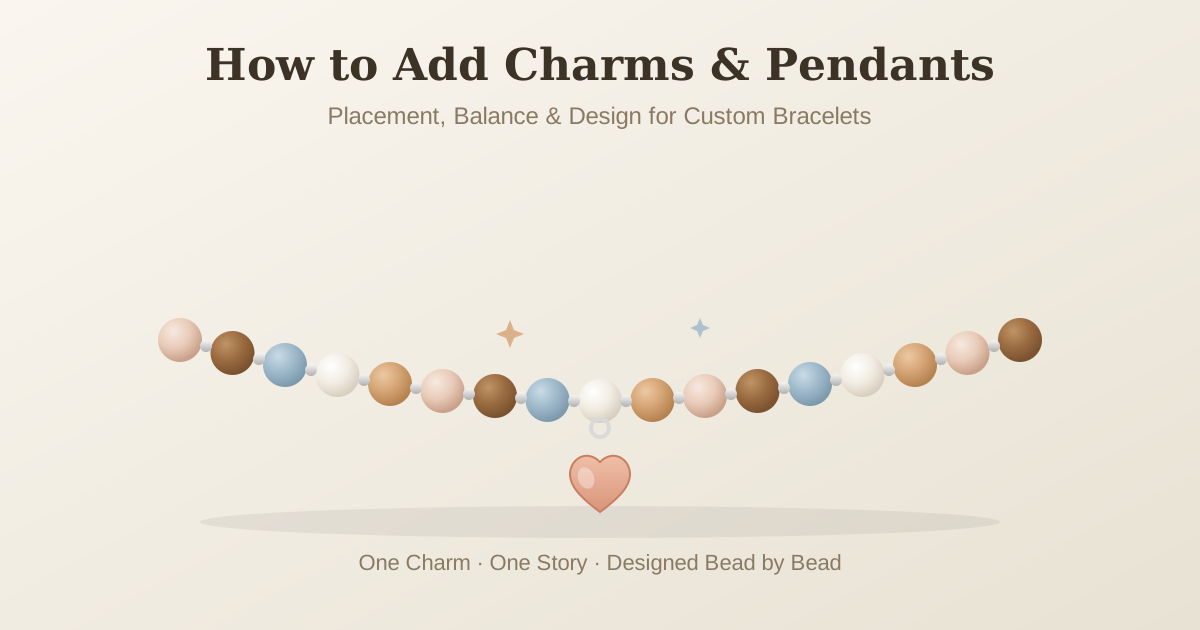
Casi todas las pulseras cuentan una pequeña historia, y el dije suele ser la parte que más habla. Un pequeño colgante —una letra, un corazón, una concha, una piedra natal— puede convertir una pulsera bonita en algo que claramente trata de una persona, un recuerdo o un momento. Pero los dijes también cambian cómo cuelga, se asienta y se siente la pulsera, y es fácil equivocarse al principio: demasiados colgantes, uno que se da la vuelta o un dije que tira de toda la pulsera hacia un lado. La buena noticia es que añadir un dije es una decisión de diseño que se puede planificar. Esta guía explica dónde colocarlo, cómo se fija, cuántos son demasiados y cómo conseguir una pulsera equilibrada y cómoda.
Empieza con un único dije principal, colócalo en el centro o ligeramente desplazado y procura que sea ligero en comparación con las cuentas. Elige un dije con un orificio lo bastante grande para pasarlo directamente por el cordón, o fíjalo con una argolla pequeña para que repose sobre una cuenta. Combina el metal del dije con los separadores y el cierre para un acabado cuidado, y si la pulsera gira en tu muñeca, corrige primero la talla: es un problema de ajuste, no del dije. Puedes anotar el dije que tienes en mente en el diseñador de pulseras, y todas las cuentas y separadores están en la biblioteca de cuentas.
1. Un dije principal es mejor que varios pequeños
Una pulsera con tres o cuatro dijes pequeños repartidos puede verse recargada, y cada dije añade algo de peso y movimiento. Un único dije bien elegido en la parte delantera de la muñeca se lee con claridad: los demás lo notan y quien lo lleva lo ve cada vez que baja la mirada. Ese único punto de atención es lo que hace que el diseño parezca intencionado y no casual.
Si te gusta la idea de llevar más de un dije, agrúpalos en lugar de repartirlos por toda la pulsera. Dos o tres dijes pequeños juntos cerca del cierre o en el centro se ven intencionados, como una colección que pertenece al mismo conjunto. Esos mismos dijes repartidos de forma uniforme suelen parecer desorden.
2. Dónde colocar el dije
El centro delantero es el lugar clásico. Con la mano en reposo, el dije queda sobre la muñeca, a la vista tuya y de quienes te rodean. Un colgante algo desplazado hacia el lado de la mano cuelga un poco más bajo y resulta más discreto, una buena opción para dijes más largos o pesados.
Junto al cierre hay una tercera opción práctica: un dije pequeño ahí sirve también como tirador, algo muy útil con cierres de palanca o magnéticos. Elijas el lugar que elijas, piensa en la orientación. Si el dije tiene un sentido, como una letra o una flecha, comprueba hacia dónde mira con el brazo caído: así se verá la pulsera la mayor parte del día.
3. La forma de fijar el dije importa
Hay tres maneras habituales de fijar un dije a una pulsera de cuentas, y cada una se comporta de forma distinta. Un dije con un orificio lo bastante grande para pasarlo por el cordón queda pegado a las cuentas y apenas se mueve, ideal para letras y símbolos planos. Un dije sujeto con una argolla pequeña cuelga y se mueve con la muñeca, precioso para lágrimas, conchas y monedas, aunque gira, así que elige diseños que se vean bien por ambos lados. Un colgante en una argolla del cierre es el más fácil de cambiar después.
Un detalle que conviene revisar antes de decidir: el tamaño del orificio del dije. Un dije con un orificio muy pequeño que roza el cordón a diario puede desgastar los cordones más blandos con los meses. Si el orificio es justo, pide uno más grande o un pequeño protector de alambre para que el dije nunca roce directamente el cordón.
4. Primero combina el metal, luego el estilo
Los dijes con partes metálicas lucen mejor cuando el metal coincide con el cierre y los separadores. Dijes plateados con separadores plateados, dorados con dorados: así la pulsera se percibe como una pieza diseñada y no como una suma de partes. Es una regla pequeña que marca una gran diferencia en el acabado.
Más allá del metal, piensa en la superficie. Los dijes pulidos captan la luz y resultan más elegantes; los martillados o mate son más informales y disimulan mejor los arañazos. Si quieres color, los dijes esmaltados o las cuentas con letras resisten mejor que las superficies pintadas, que se desconchan con el tiempo.
5. Peso y equilibrio: que sea cómoda de llevar
Un dije pesado en comparación con las cuentas hará girar la pulsera en la muñeca, de modo que el cierre acaba arriba y el dije queda debajo. Como regla general, procura que el dije pese menos que tu cuenta más pesada. El cordón elástico es más tolerante, pero un colgante pesado sobre cuentas pequeñas lo estirará con el tiempo.
Para dijes grandes, diseña la pulsera con un cordón más firme o coloca el dije donde la pulsera se ajusta más a la muñeca para que se mueva menos. Y recuerda: si la pulsera no deja de girar, suele ser un problema de talla, no del dije. Debe quedar lo bastante ajustada para no moverse, pero lo bastante holgada para pasar por la mano con comodidad.
6. Que tenga significado
El dije no tiene que ser elaborado para ser la parte más significativa de la pulsera. Una sola letra para un nombre, una cuenta con la piedra natal del mes de la persona a quien se la regalas, una pequeña concha de un viaje compartido o un simple corazón: el significado está en la elección, no en el precio. Cuando diseñas un regalo, el dije suele ser el elemento que la persona señalará diciendo «este es por mí».
De eso se trata el diseño cuenta por cuenta. Cada parte se elige a propósito, y el dije es donde se concentra la historia. Empieza por las cuentas de la biblioteca de cuentas, elige una pieza que lleve el significado y deja que todo lo demás la acompañe.
¿Lista o listo para diseñar una pulsera con un dije que signifique algo? Abre el diseñador de pulseras, elige tus cuentas y separadores en la biblioteca de cuentas y añade el dije que la hace tuya.
Guías relacionadas: Pulsera de dijes o pulsera de cuentas (en inglés) y Cómo elegir el cierre de tu pulsera (en inglés).