
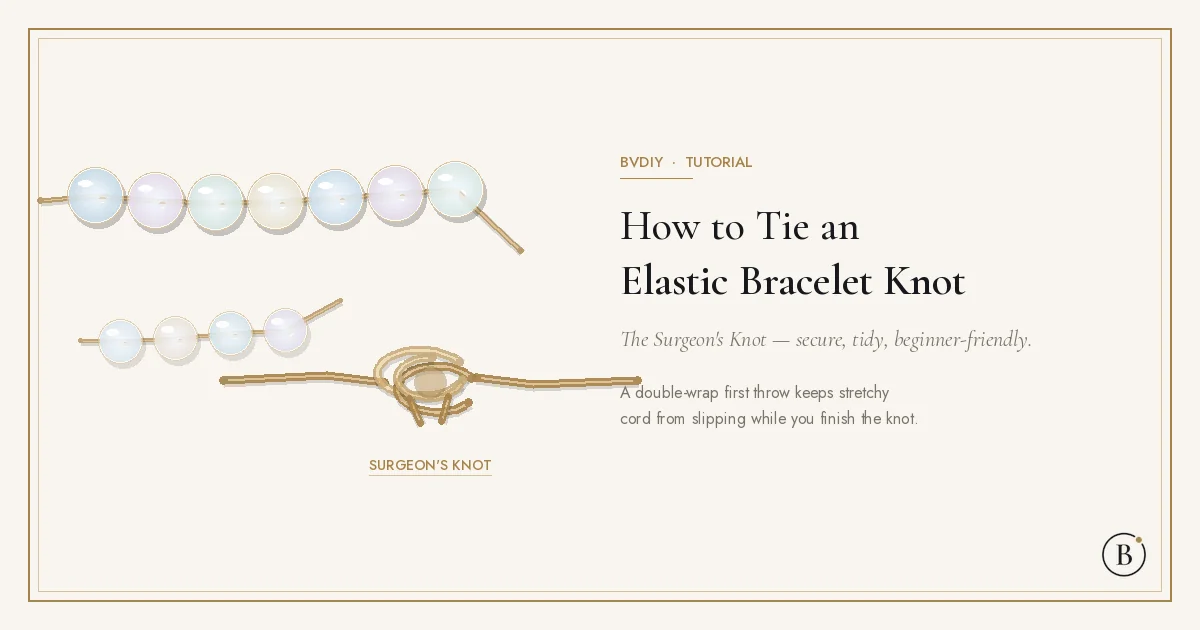
A secure knot is the difference between a bracelet you wear for months and one that slips off after a week. This guide covers finishing only: pre-stretching, stringing, the surgeon's knot, gluing, tucking, and trimming. If you are still choosing between elastic and wire, or working out a bead count, those guides are linked below — this page stays on how to tie off.
Pre-stretch your elastic, string the beads, then finish with a surgeon's knot: cross the ends, wrap twice for the first half, pull snug to the beads, add a second (and optional third) knot the other way, dab jewelry glue, tuck the knot into a larger bead hole, let dry, and trim. Test the fit before you cut.
What you need
For most crystal rounds between 6 mm and 10 mm, use about 0.6–0.8 mm elastic cord — the same baseline we use in our material guide. Match the cord to the bead hole: it should pass through twice with a gentle tug but not feel loose inside. You will also need sharp scissors, clear jewelry cement that stays flexible when dry, and one bead with a slightly larger hole so you can hide the finished knot.
Before you cut, count how many beads you need, and confirm your wrist size with our measuring guide or the size guide. If you are still deciding between bead sizes, see how to choose bead size.
Step 1 — Cut and pre-stretch the cord
Cut enough cord so that after stringing you still have about 5–6 cm free on each end to work the knots, plus a little extra working room. Hold both ends and pull firmly along the full length a couple of times. Pre-stretching takes out the first stretch so the bracelet does not sag after a day of wear. Stop when the cord stops giving easily — over-stretching can leave it limp before you even knot it. If you are unsure, leave a longer tail; you can trim after the glue dries.
Step 2 — String the beads
String the beads in the order you planned. Counting beads first avoids mid-strand rearranging. Keep one larger-hole bead near where the ends will meet so you have a place to tuck the knot later. Leave about 5–6 cm of cord past the last bead on each end so you can tie without pulling beads off the far side. Lay the strand flat on a clean surface so nothing rolls away while you work.
Step 3 — Tie a surgeon's knot
Work slowly with the beads already pushed together. The goal is a flat knot that sits against the beads, not a bulky twist in the middle of a gap.
- Cross the two cord ends (left over right).
- Wrap the working end through the loop twice for the first half-knot.
- Pull both strands snug so the knot sits close to the last bead — firm, not so hard that beads crack.
- Tie a second knot the other way (right over left) to complete a square lock.
- Optional: add a third knot, alternating direction again, for extra security on heavier strands.
- Pull all four strand ends evenly so the knot seats flat against the beads.
The double wrap on the first half is what makes this a surgeon's knot. A single-wrap square knot can slide on smooth elastic; the extra wrap grips. Seat each half before adding the next so the knot locks instead of twisting.
Step 4 — Glue, tuck, dry, trim
Dab a tiny amount of clear jewelry glue on the knot only — do not flood the beads. While the glue is still workable, slide the knot into the larger bead hole you reserved, or tuck it snugly between beads where it will not show. Let it dry per the glue label; brands differ, so follow the bottle rather than guessing. Once dry, trim the tails, leaving a tiny stub (about 1–2 mm) rather than cutting flush. A flush cut can slip; a short tail stays locked in the knot.
Fit check: snug vs comfortable; when to restring
Before you cut the tails, try the bracelet on. It should pass over your hand with slight resistance and sit comfortable on the wrist without digging in. If it spins freely, restring a touch shorter or add a spacer. If it will not clear the hand, loosen the knot and add a bead or a little length before you glue.
Elastic ages. When the cord looks fuzzy, chalky, or permanently slack, restring the whole bracelet rather than stacking more knots on tired cord — repeated re-knotting weakens the same spot. For stretch versus clasp trade-offs, see stretch vs clasp bracelets.
When not to use elastic
Skip elastic and finish on beading wire with a clasp when bead holes are rough or abrasive, when you are hanging a heavy pendant or focal, or when you need a fixed length that should not stretch. Faceted crystal and some raw stone holes can act like a saw on stretch cord. Wire holds shape longer under that kind of wear. Read the material comparison at elastic cord vs beading wire, and use stretch vs clasp if you are still choosing the closure style.
Design yours online
Once you know the knot, the next bottleneck is usually layout — bead order, size mix, and whether the strand will clear the hand. Sketch that in the bracelet designer before you commit cord, then finish with the surgeon's knot above.